(Note: English is not my native language)
If you want to create a weapon that can use ironsight for aiming, this tutorial is for you.
(requested by Jen)

Step1: Suitable weapon model
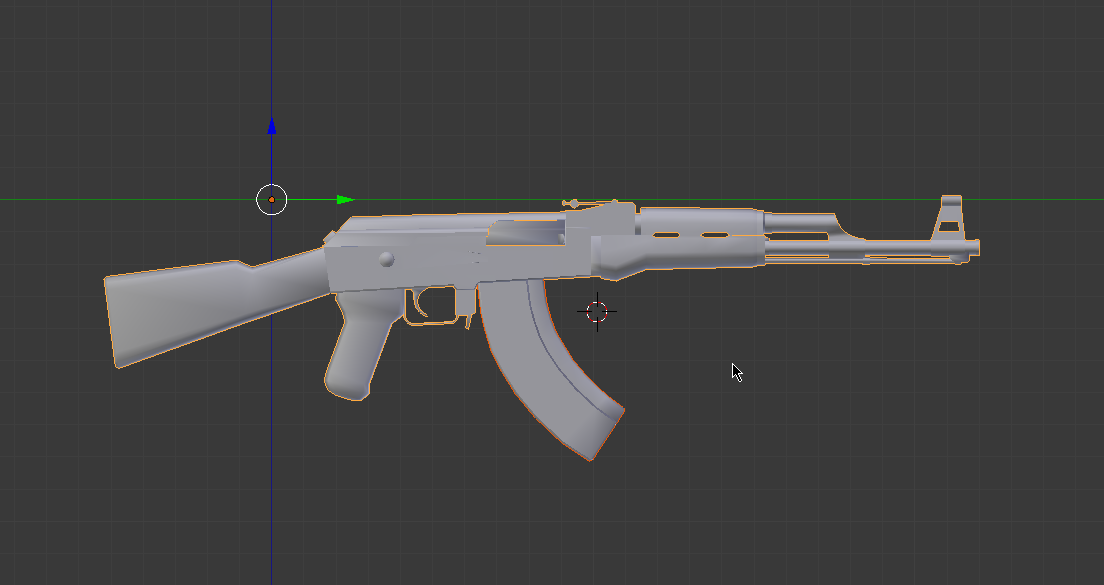
Make sure your weapon's pivot point is laying on weapon's line of sight in 3D application (I use Blender)
and weapon's direction is heading to the positive global Y Axis, we will export this weapon as a fbx file into leadwerks to get mdl file.
In blender, after adjusting weapon to its right position, you can use Ctrl + A > Location / Rotation / Scale to setup weapon pivot base.


Step 2: Camera and weapon setup
- In Leadwerks, put a camera into the scene
- Create a new LUA file, name it "CameraControl.lua" then apply to created camera
- I attached a sample weapon model in this blog, you can use it for your experiment (it was adjusted as step1, even the size of weapon). Put it in Models folder (Models/ak47.mdl)
Here is the code:
Script.norPos = Vec3(0.2,-0.2,0)
--Weapon Normal Position, you can adjust this Vec3() to put weapon in right position
Script.ironSightActive = false
Script.ironSightAimingSpeed = 0.7
--this is the speed of aiming, higer = slower, 0.7 is kind of fast but I think it is ok
Script.cameraNormalFOV = 80
Script.cameraIronSightFOV = 60

function Script:Start()
--Load weapon model then attach it to camera
self.weapon = Model:Load("Models/ak47.mdl")
self.weapon:SetParent(self.entity)
self.weapon:SetRotation(0,0,0)
end

function Script:UpdateWorld()
self:IronSightChecker()
--Toggle ironSight when press right mouse button
if window:MouseHit(Key.RButton) then self:IronSightToggle() end
end

function Script:IronSightToggle()
if self.ironSightActive then
self.ironSightActive = false --Disactivate iron sight mode
else
self.ironSightActive = true --Activate iron sight mode
end
end

function Script:IronSightChecker()
if self.ironSightActive then
self:MoveWeapon(0,0,0,self.ironSightAimingSpeed)
self:CameraZoom(self.cameraIronSightFOV,self.ironSightAimingSpeed)
else
self:MoveWeapon(self.norPos.x,self.norPos.y,self.norPos.z,self.ironSightAimingSpeed)
self:CameraZoom(self.cameraNormalFOV,self.ironSightAimingSpeed)
end
end

function Script:MoveWeapon(xPos,yPos,zPos,speed)
local model = self.weapon
local newXPos = Math:Lerp(xPos,model:GetPosition().x,speed)
local newYPos = Math:Lerp(yPos,model:GetPosition().y,speed)
local newZPos = Math:Lerp(zPos,model:GetPosition().z,speed)
model:SetPosition(newXPos ,newYPos ,newZPos )
end

function Script:CameraZoom(level,speed)
local camzoom = Math:Lerp(level,self.entity:GetFOV(),speed)
self.entity:SetFOV(camzoom)
end
Step 3: Check the resuilt
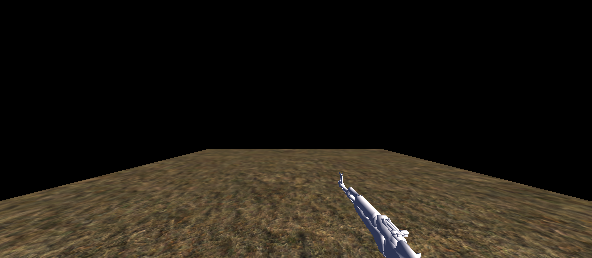
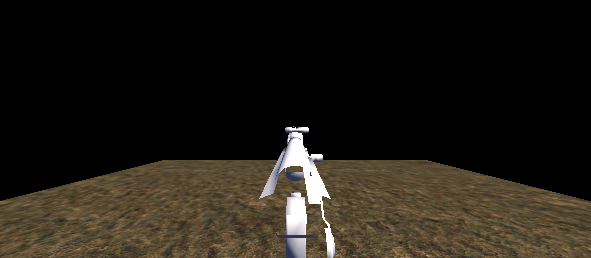
it should look like this


*Tip: You can use shadmar's viewport shader to fix the weapon clipping (http://steamcommunity.com/sharedfiles/filedetails/?id=256268930)
Hope this help!
-
 1
1
-
 4
4


2 Comments
Recommended Comments