"The Zone" Blog 03: Working on the Railroad
In the last update I was working on laying out everything in the map, especially the roadways and block placeholders for the main buildings. In today's update, I'm going to go over what I've been working on since then, which is the most logical step after roads...rails!
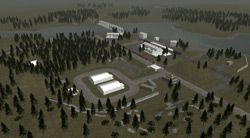
But, before we dive in, here is an overview image for Blog #3:
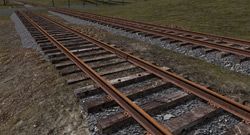
One of the biggest steps since the last blog update was to get a modular rail system set up. Based off of that photo shoot I did 2 weeks ago, I created a 12 meter section of old railway. These sections lock together using the Leadwerks grid system to create perfect seamless straight sections of railway. They also have several Level of Detail versions to save polygons (elements like the tie down plates and rail connectors disappear with distance).
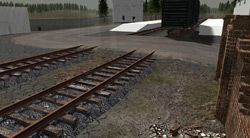
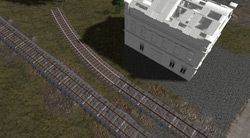
While not yet finished, I'm also working on curved sections and a switch (not pictured).
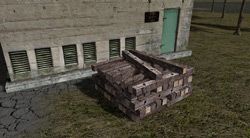
And of course, if there's a railway there must be an old pile of ties.
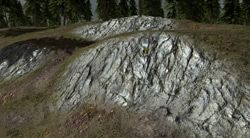
I have also completed the final terrain texture, a unique cliff texture:
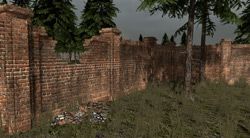
A new brick wall with A, B, and damaged version is also now completed. The accompanying debris pile is designed to work with most other damaged brick
assets as well.
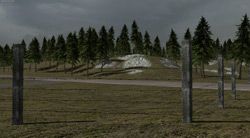
For those of you that have played the S.T.A.L.K.E.R. series, this next prop will be very familiar. This is a simple barbed wire fence meant to keep curious eyes away from the Zone... and to help keep some of the strange horrors of the Zone inside. These, along with radiation warning signs, will border the map.
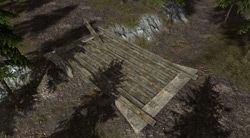
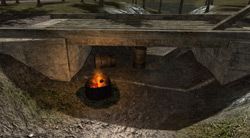
The dirt road (not seen yet, the dirt ground texture is a placeholder) that winds through the woods to an abandoned house crosses over part of the swamps. I have created an older style wooden and concrete bridge for this road designed for light personal use off of the beaten path. Its timbers have shifted with age and plundering from explorers looking for material for fires or shelter.
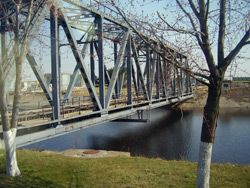
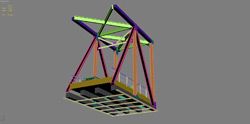
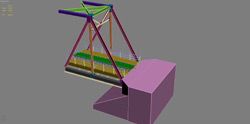
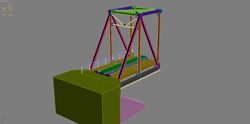
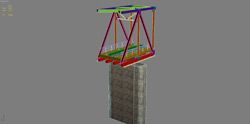
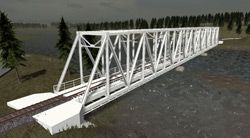
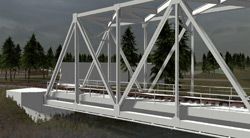
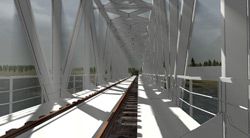
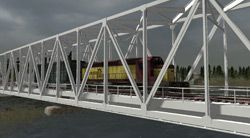
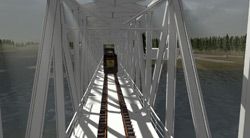
Finally, a big part of what I've been focusing on is the railroad bridge needed for this map. I decided to build this bridge in modular sections. This will allow users to adjust the length of the bridge as they need to for their own levels. The design of the bridge is largely inspired by this bridge near Chernobyl:
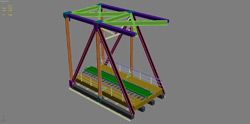
It is divided into 4 sections, with each of the main middle sections being 12 meters long:
- Middle
- Middle with support pillar
- End A
- End B
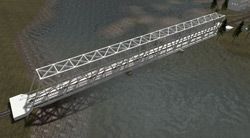
Here is how the untextured model snaps together inside of the Leadwerks editor:
That's all for today. For the next blog post, I'll be texturing the bridge, working on the road bridge, continuing with more railway assets and maybe getting more textured buildings in the editor.
Thanks for reading! ![]()


7 Comments
Recommended Comments