Advanced Transparency and Refraction in Vulkan
Heat haze is a difficult problem. A particle emitter is created with a transparent material, and each particle warps the background a bit. The combined effect of lots of particles gives the whole background a nice shimmering wavy appearance. The problem is that when two particles overlap one another they don't blend together, because the last particle drawn is using the background of the solid world for the refracted image. This can result in a "popping" effect when particles disappear, as well as apparent seams on the edges of polygons.

In order to do transparency with refraction the right way, we are going to render all our transparent objects into a separate color texture and then draw that texture on top of the solid scene. We do this in order to accommodate multiple layers of transparency and refraction. Now, the correct way to handle multiple layers would be to render the solid world, render the first transparency object, then switch to another framebuffer and use the previous framebuffer color attachment for the source of your refraction image. This could be done per-object, although it could get very expensive, flipping back and forth between two framebuffers, but that still wouldn't be enough.
If we render all the transparent surfaces into a single image, we can blend their normals, refractive index, and other properties, and come up with a single refraction vector that combined the underlying surfaces in the best way possible.
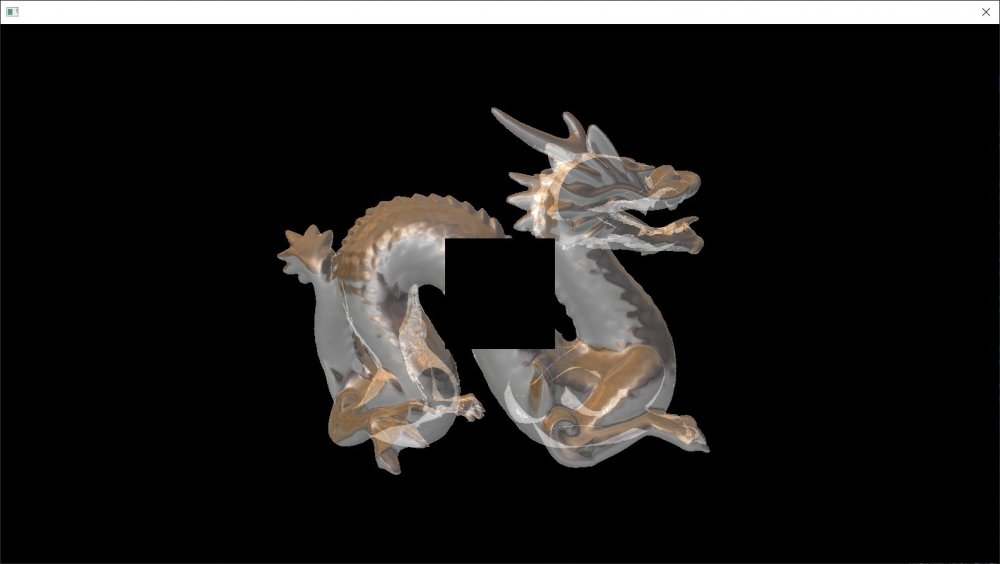
To do this, the transparent surface color is rendered into the first color attachment. Unlike deferred lighting, the pixels at this point are fully lit.
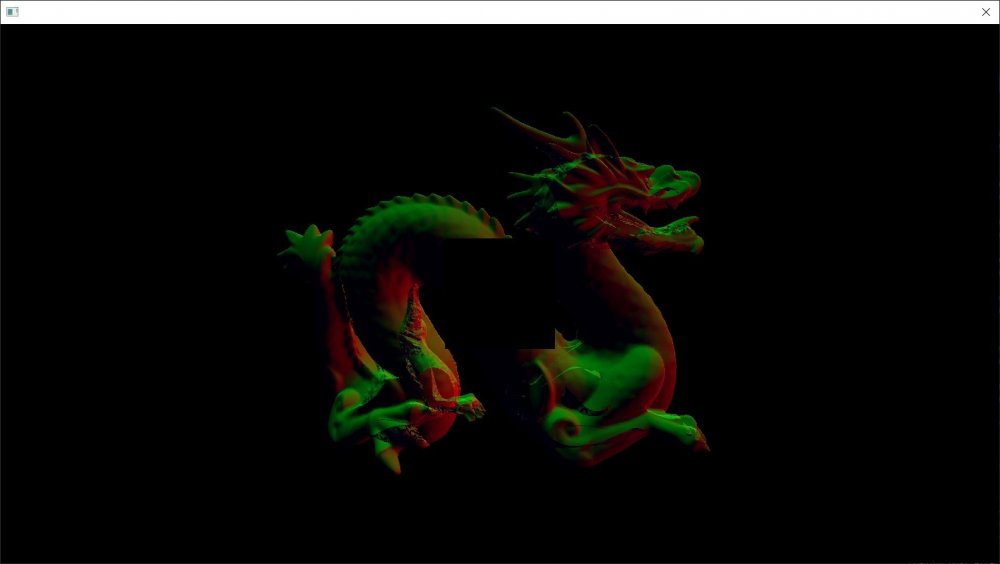
The screen normals are stored in an additional color attachment. I am using world normals in this shot but later below I switched to screen normals:
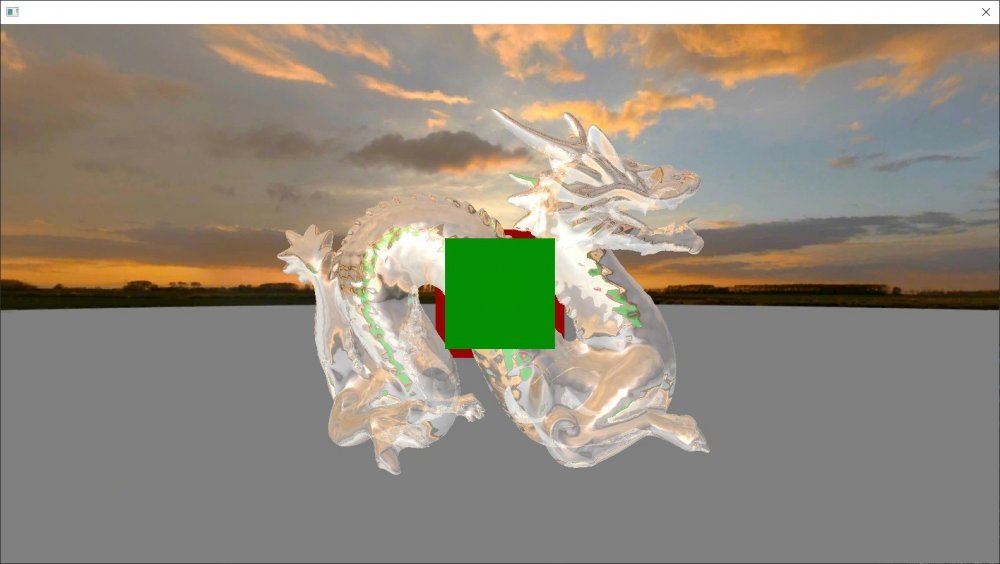
These images are drawn on top of the solid scene to render all transparent objects at once. Here we see the green box in the foreground is appearing in the refraction behind the glass dragon.
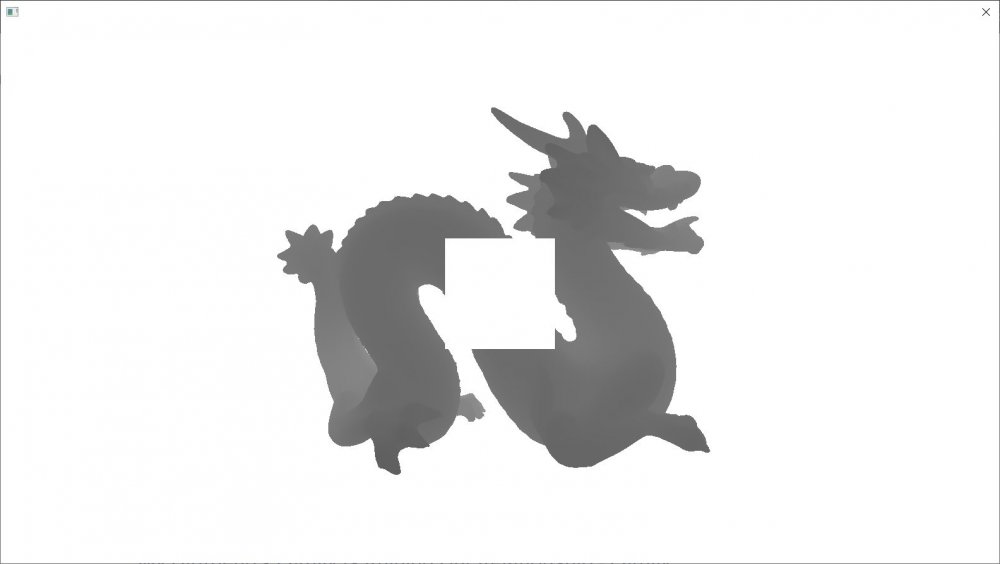
To prevent this from happening, we need add another color texture to the framebuffer and render the pixel Z position into it. I am using the R32_SFLOAT format. I use the separate blend mode feature in Vulkan, and set the blend mode to minimum so that the smallest value always gets saved in the texture. The Z-position is divided by the camera far range in the fragment shader, so that the saved values are always between 0 and 1. The clear color for this attachment is set to 1,1,1,1, so any value written into the buffer will replace the background. Note this is the depth of the transparent pixels, not the whole scene, so the area in the center where the dragon is occluded by the box is pure white, since those pixels were not drawn.
In the transparency pass, the Z position of the transparent pixel is compared to the Z position at the refracted texcoords. If the refracted position is closer to the camera than the transparent surface, the refraction is disabled for that pixel and the background directly behind the pixel is shown instead. There is some very slight red visible in the refraction, but no green.
Now let's see how well this handles heat haze / distortion. We want to prevent the problem when two particles overlap. Here is what a particle emitter looks like when rendered to the transparency framebuffer, this time using screen-space normals. The particles aren't rotating so there are visible repetitions in the pattern, but that's okay for now.

And finally here is the result of the full render. As you can see, the seams and popping is gone, and we have a heavy but smooth distortion effect. Particles can safely overlap without causing any artifacts, as their normals are just blended together and combined to create a single refraction angle.

-
 7
7


7 Comments
Recommended Comments