Introduction
Everybody hates to UV unwrap their models after their done finishing their 3D models, and i do too, but i'm good at it. Some people use software like RizomUV or Blender add-ons to make their job easyer, but it does'nt work for every texturing workflow.
If you are using a 3D painting software like Adobe Substance Painter, then you should let your computer do the UV unwrapping job, but if you don't have the money for Substance products like i do, then you do textures the old fashioned way, and you need clean UV maps for that.
An useful add-on
https://github.com/Radivarig/UvSquares a must have, but if youre good, you dont need it.
Basics
Here is the model on which i will show you how to properly unwrap a model. Its some kind of sci-fi prop, i made it, even i don't know what it is. Probably some battery charger.

To do unwrapping in blender, you head over to the UV Editing workspace:

On the right you will see your model in Edit mode, the vertices, edges, faces you select will show up at left, at the UV Editor:
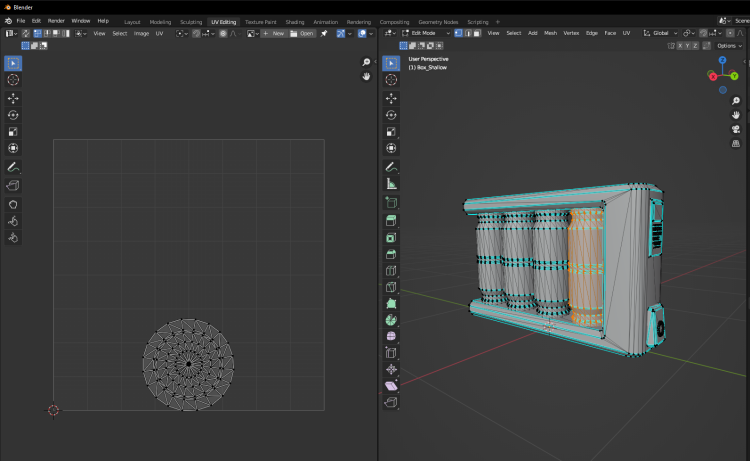
Useful Shortcut is the L key, if you hover your mouse over a separated part of your model, and press L, it will select only that part.
1. Cilinder shapes
You need to mark a seam (Ctrl + E), which will break the unwrapping, where you placed it (Hold alt and press the left mouse button to select a continous line):

You have to go to Orthographic view, for the cilinder projection, then you hit U, and Cilinder projection:
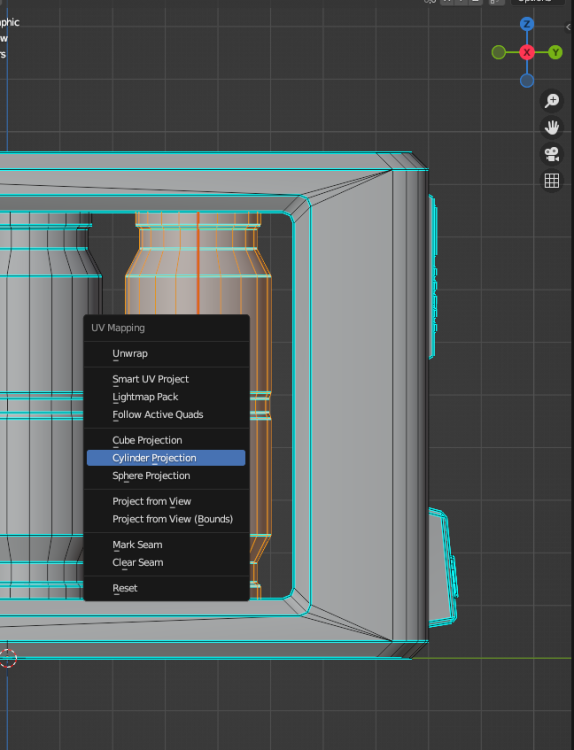
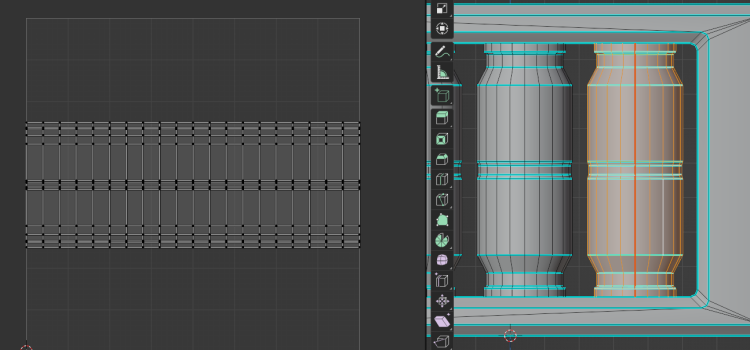
Now, you migh encounter some weird unwrapping by the Cilinder projection, thats because your camera is not in angle with the mesh. just keep in mind that the two holes of the should be at top and bottom of the screen.
It will not work like this:

2. View projection
I use view projection for parts of the mesh that face me (so they are convex from my point of view), but always in ORTHOGRAPHIC VIEW. Like this panel:
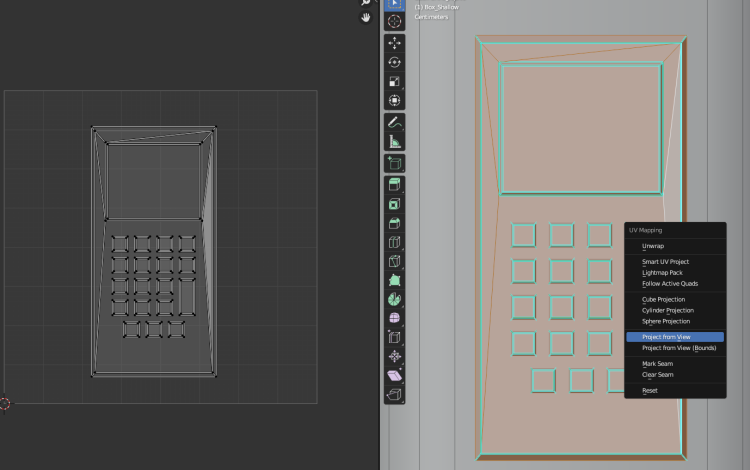
Basically any flat surface you can get in front of you, perpendicular to the camera, you can, and should use view projection on it.
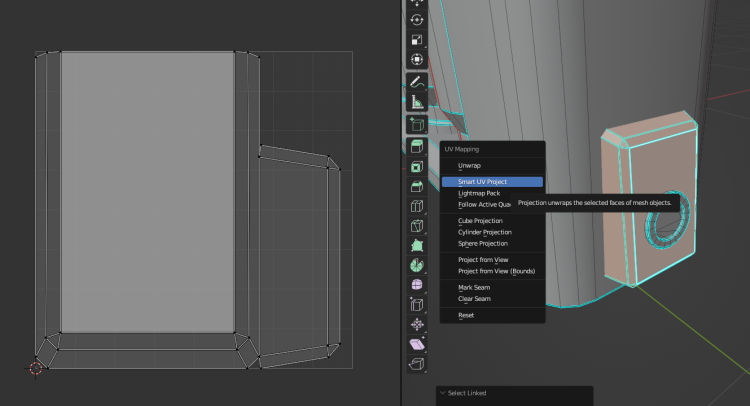
3. Smart UV projection
Smart UV projection is like Unwrap for non-organic meshes. You have to tweak the Angle limit to get the desired unwrapping

You could use this at the corners, or at bit more organic parts of your mesh.
4. Packing UV maps
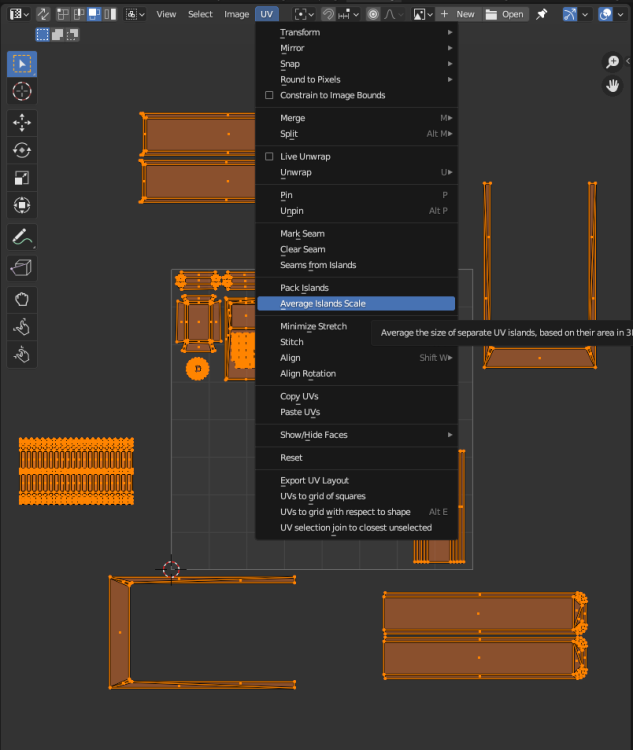
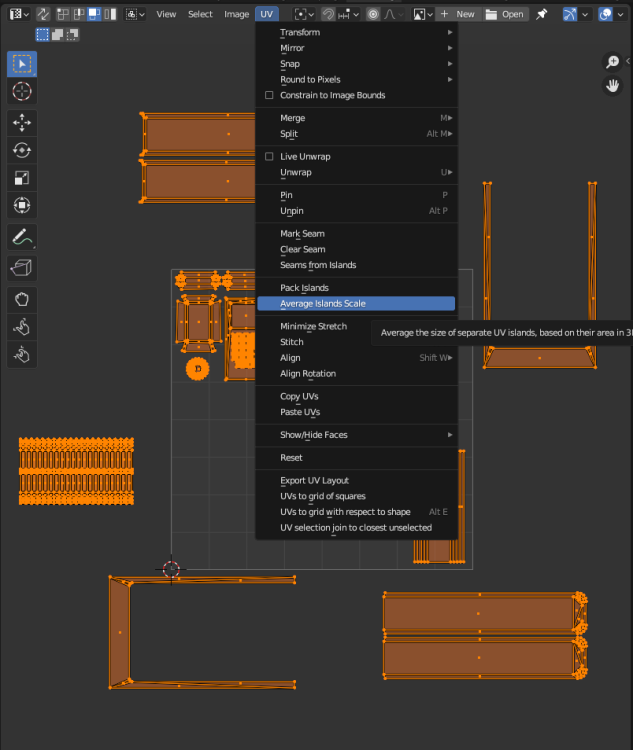
Now comes the even more painful part, packing the UV maps efficiently. Your maps after using projections most likely will not be equally sized so you can use the UV > Average island scale function to estimate their sizes based on your model.
I sometimes set the sizes by hand, because some parts need to have more detail, so those will be bigger, because they can take up more pixels from the texture, leading to higher resolution. Here i would do this to parts that need text or logos.
This function and the Pack islands function can destroy parts that you want to be together, like the buttons on the panel:

You have to do packing manually, thats it.

You can export the UV layout as a png file, so you can see where are the parts in photoshop or whatever you are using to texture:

Hope this tutorial helped. UV unwrapping is not something you can teach, but just try to find what each projection is capable of, and where are they working the best.
-
 7
7



0 Comments
Recommended Comments
There are no comments to display.