Search the Community
Showing results for tags 'Texture'.
-
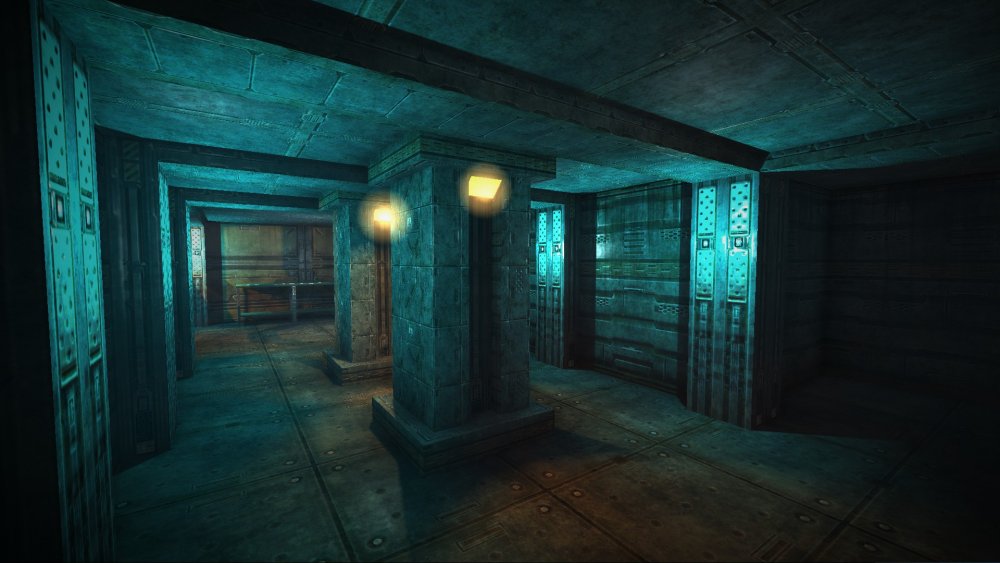
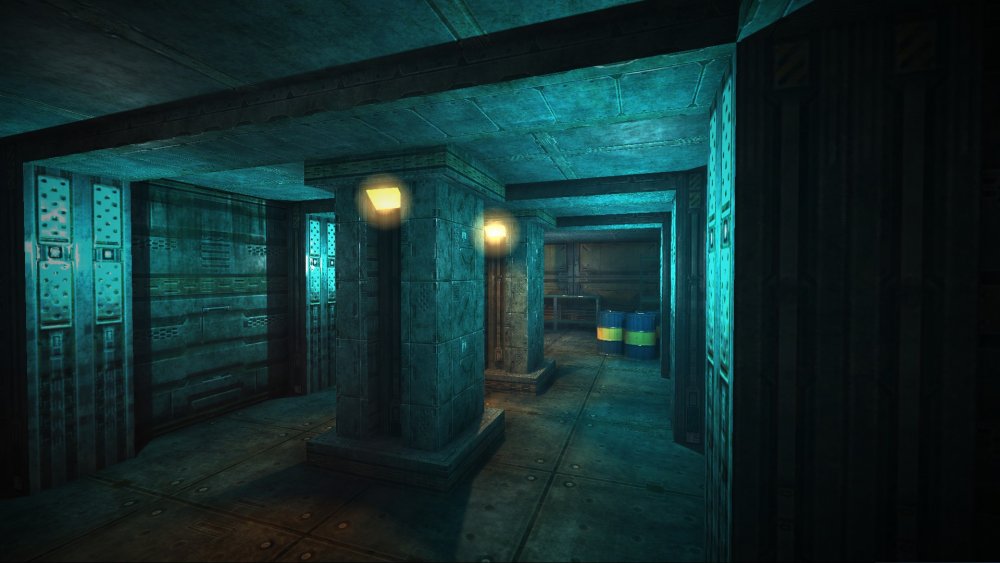
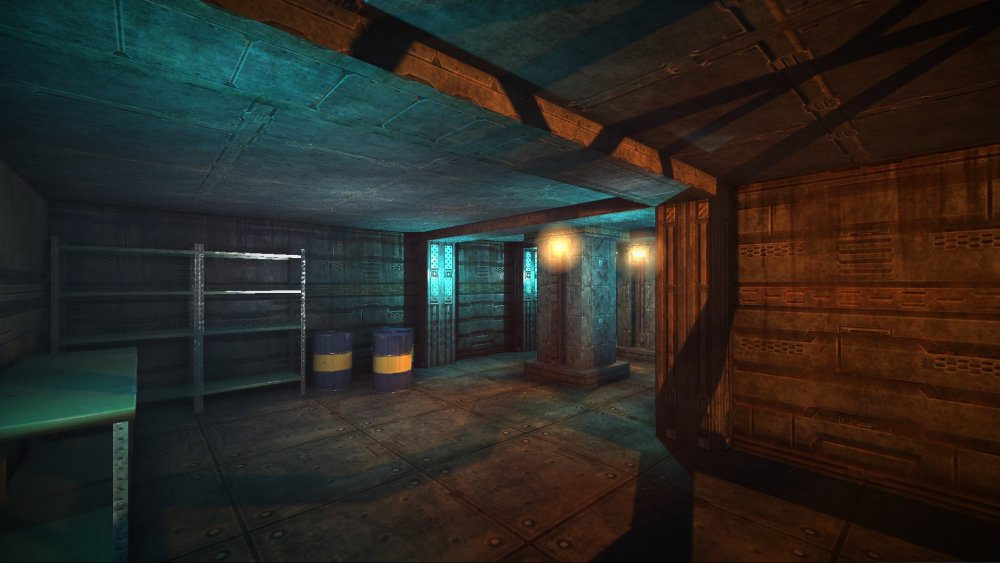
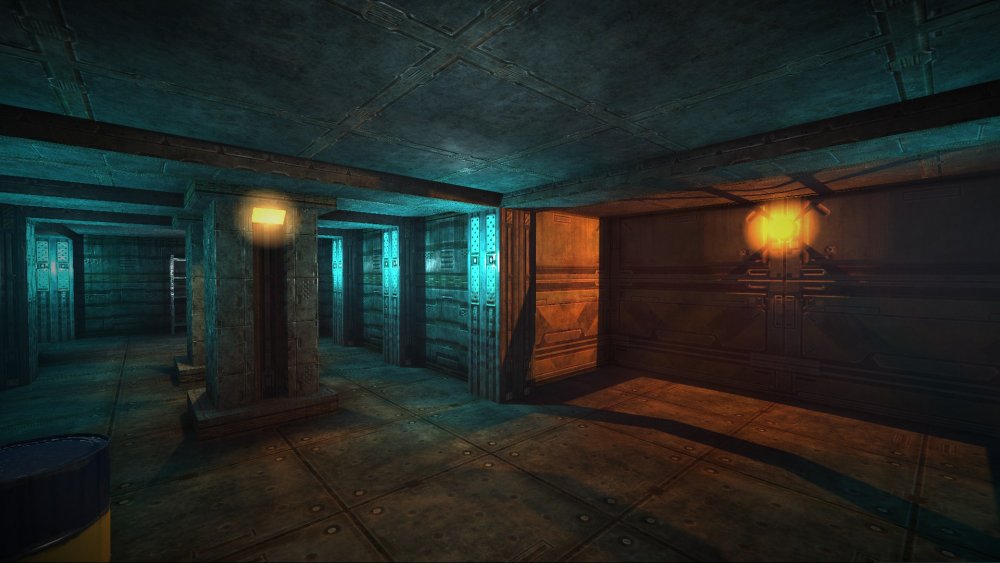
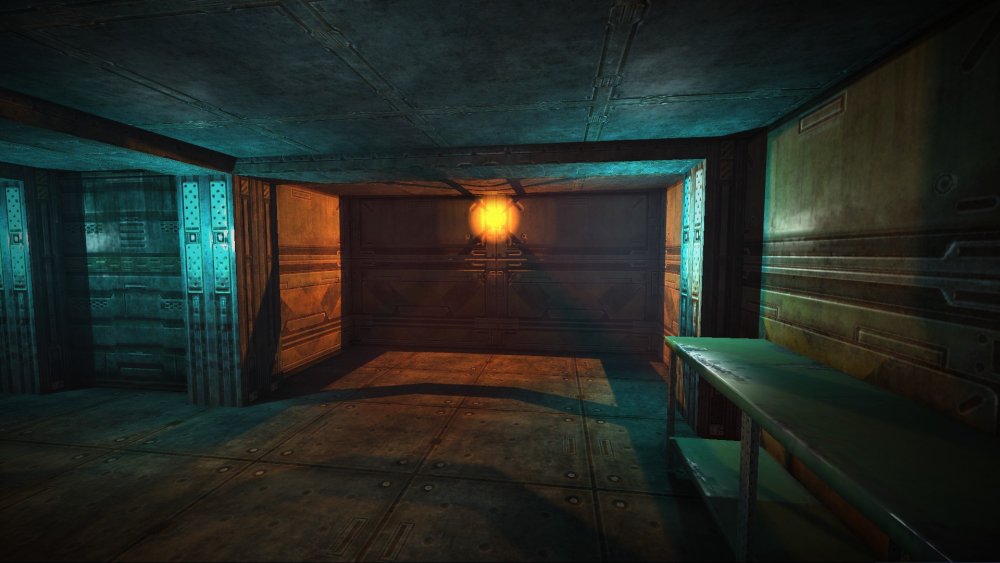
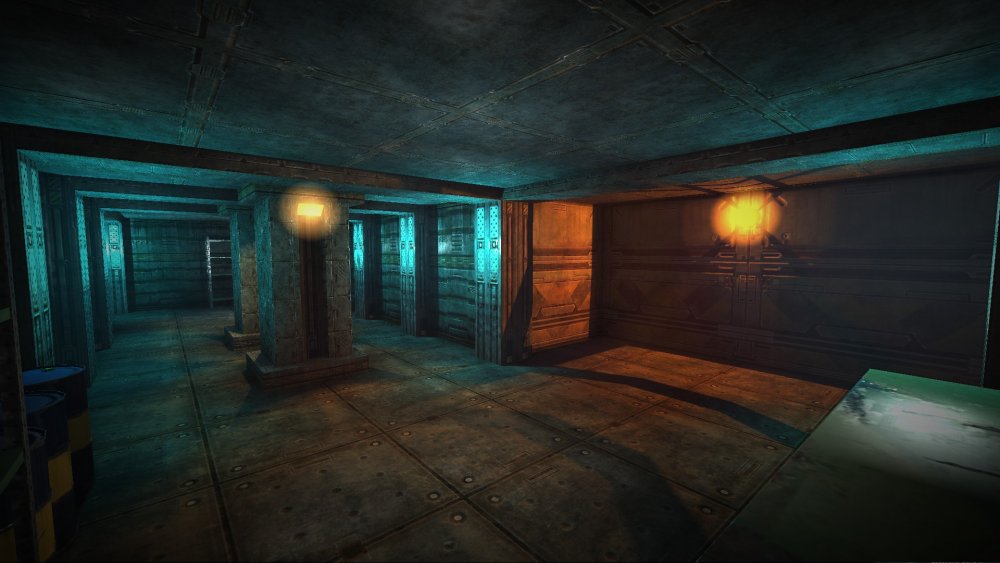
Been delving more into the leadwerks editor lately, been working on some scifi materials made from some work I did as part of a texture pack I made quite a while ago. Currently compiling a texture material pack of these for leadwerks which will be available on the steam workshop for an affordable price. Just wanted to post a some screenshots of a cool scene I made with them! I also uploaded them to the leadwerks steam page. let me know what you all think! I am still fairly new to the editor and my laptop computer is not that great (scene ran slow) but I am saving up for a new workstation machine to do more 3d asset work and top-notch game creation on (I am a broke senior engineering college student, haha). Thanks guys and have a good day. P.S. I also have a turbosquid page (most of my products are free now), the link is: https://www.turbosquid.com/Search/Artists/PancakeMan96 Not all of them are of the greatest quality, lol. I started 3d modeling quite some time ago as a hobby and picked up many skills over time. The first application I ever started out with was Milkshape 3d!
-
Quick update on what is happening so far. Lately I have not had as much time to work in substance painter because I have been busy, however in my spare time I have been working on refining the base material which I will use to apply to the numerous textures I have created as part of the scifi collection. Little tweaks here and there mainly to make the results a little more pleasing and less noisy. Above I have tweaked a majority of the masks for rust as well as surface detail variations so that the metal is not too noisy/bumpy. Also reduced some of the height of the peeling paint details since they were sticking out a little too much before. Before it was beginning to look like the paint had been applied in a layer that was 5mm thick. In addition, I added a darker, heavier dust layer which is mainly isolated to the bigger crevices and cracks. I did this mainly to add more depth and make the panels stick out more. Also added details for rivets and "aluminum" pieces. Still need to do some work with variating the dark metal surfaces a bit more though. The brighter metal parts came out good and I am happy with them. Last thing on the list will be to clean up the master material file and make editing paint colors, base metal colors, etc. much easier so that I do not have to poke through the layer stack each time I want to change something. I will do this through anchor points and having "proxy layers" at the very bottom of the layer stack that do not impact the final look of the texture but instead serve as makeshift color selectors. I also still need to add a few more different materials such as rubber, for the textures that include hoses or related parts. Stay tuned.
-
Quick update... Work is pretty much complete on nearly all of the highpoly models of the wall textures... Just a few more to create and bake out in Xnormal and then I will be able to start making the color ID maps. I expect to have the ID maps done sometime by the beginning of the week after next week. Total number of textures stands at 201, after taking into account some of the walls having minor detail variants. Below shows a few snapshots of the my most recent work:
-
- 4
-

-
- 3ds max
- hard surface
- (and 11 more)
-
Took a break from 3d modeling work for the past few days, decided to play around with lighting and other effects in 3ds max to get a general sense of what types of environment/moods can be created. I made a material with some emissive maps and applied it to my simple cube scene, thought I would post it since it turned out pretty cool (3ds max rendering): More to come later on...
-

Progress Update + Planning For Next Steps
TWahl posted a blog entry in Work in Progress - Scifi PBR Media
As of just now, I have finished creating all of the individual color ID maps for the floor textures, seen below in my progress tracker. Next steps which I plan on carrying out (bolded are the ones I intend to focus on in the next month or so): Finish modeling wall textures (30 ish to go). Finish modeling a few detail textures. Create material ID maps for all wall/detail textures (60+ to go). Paint all diffuse maps using a common substance painter project file(s) to maintain consistency and allow for texture creation in an assembly-line fashion This will save me immense amounts of time with the texture painting process, and also allows me to add even more variant maps (paint colors, rust, cleanliness etc). Create modular environments in 3ds max using floor/wall/trim/detail textures that will fit on a common grid size Will likely have to model/bake additional greeble textures for this step, although this will be simple and not time consuming as I can splice the existing high poly models I have available. This will allow me to cannibalize some details and spend as little time modeling from scratch as possible. Pipes, structural elements, etc. Create props crates, desks, canisters, infectious growths, lighting elements, blood decals, doors with animations, etc. -

Free Scifi PBR Materials Giveaway (3 Textures)
TWahl posted a blog entry in Work in Progress - Scifi PBR Media
Work is continuing on my upcoming scifi mega pack that is inching closer and closer to being released - today I decided to compile a few PBR materials that I created as some more tests in substance painter. The below images show a simple 3ds max scene that I blocked out in a few minutes as well as some renders from substance painter. Materials available in uncompressed PNG format and are 2k textures. They are also perfectly seamless and will tile in all directions. I am providing these free of charge to be used for shader testing in the new engine, your own projects, or for learning purposes. They are not set up for a legacy normal-specular workflow so if you want to use them in the current version of leadwerks, you will have to follow some tutorials online to generate a spec-gloss map using your preferred photo editor. Thanks for the continuing support in this huge undertaking, still a lot of work left to do but I am hoping for a release around the end of this year to the beginning of next year. If there are any questions about the pack or the files that I am giving away, please do not hesitate to ask here or in my work in progres thread: -TWahl PBR_scifi_test_materials_free.7z -
How painting texture in GUI without the use of widgets or painting texture[Texture:Load()] (not image[gui:LoadImage()]) in Widget:Panel?
- 3 replies
-
- gui
- texture:load
-
(and 1 more)
Tagged with:
-
When I make an image in an external image editor (eg. Inkscape) and put it in the folder inside the project tree, it automatically gets converted to .tex as expected. I open it in the Texture editor and check Clamp checkboxes and do some other adjustments. Now, when I save an image over an original image file, texture gets updated. However, some settings are lost and some are preserved. Namely, Clamp checkboxes get unchecked. This is kind of annoying, since I'm adapting my textures often and have to go everytime to the Texture editor. What is more, it's an inconsistent behavior.
-
I'm a novice user of Leadwerks and am having trouble suitably texturing a simple room I made using the software. I quite simply want to texture the walls in my level with several different textures applied to the same wall in a specific orientation. Which I only managed in two ways: - Sectioning a wall into smaller objects, applying materials to them and piecing them together. - Exporting my entire map as a .obj file to blender in order to texture generate a UV map to import back into Leadwerks. As you can probably tell it's not very efficient and will quickly clutter up my project. Is there a better way I can texture my simple level?
-
Hey, I seem to have an issue with shadows being cast/spread on my models. and I don't know what's causing it. For reference here's an image of what it looks like in Blender: Here's an overview of my material settings: The lighting settings are the standard the scene loads up with. also, there are no shaders or any sort of post processing added. Any help is very much appreciated.
-
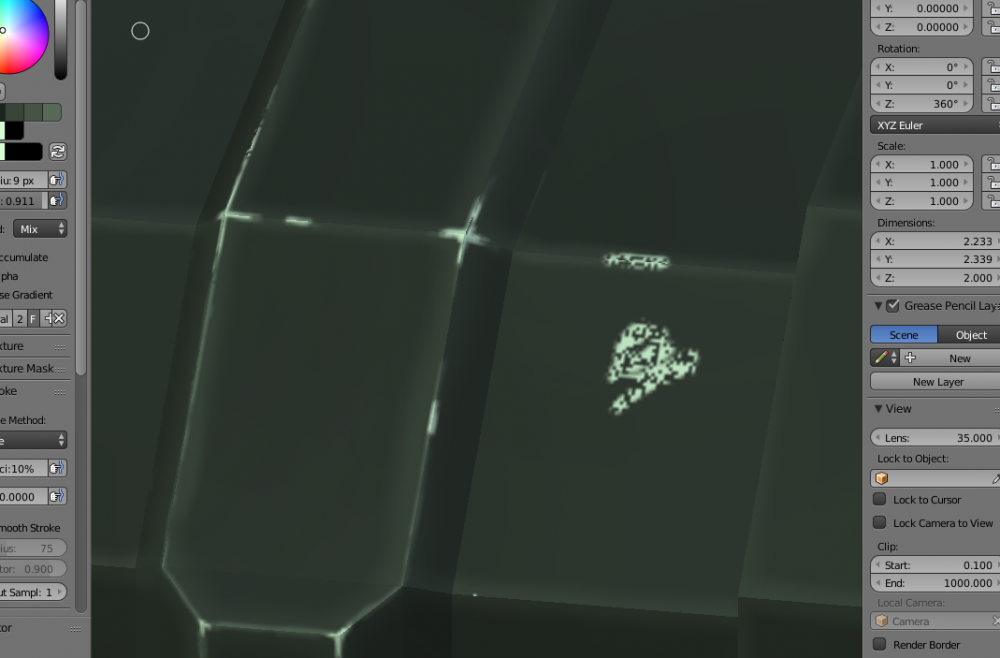
I have a annoying problem with Blender. Problem is this: After saving, hand painting does not work properly anymore. When I try to draw straight on the surface of the model, it leaves some pixels without color. Like there is a random noise all over the texture, that just does not take color in. Here is image about the problem. Highlighted edges in the image are painted before saving and are ok. Problem can be seen in the white smudge on the right, "dead pixels" that can't be painted. Can anyone advice? I¨m still learning this stuff, so might be something very simple.
-
Hi, I'm looking for texture from the internet but I can't find some kind of nice texture. Would you recommend free texture sites. Except Textures.com. note: my english is bad, i'm sorry
-
How to change the size of the texture resolution? I create texture . Texture* Tex = Texture::Create(512, 512); camera->SetRenderTarget(Tex); draws its... OK... context->DrawImage(Tex,0,0); It is necessary to change the size of the texture . Here it does not work: camera->SetRenderTarget(0); Tex->Release(); Texture* CamTex2 = Texture::Create(1024, 1024); //new size Tex = CamTex2; camera->SetRenderTarget(Tex); After that - a black image :-/ How to decide ? Thanks.
-
When loading a prefab that was save with the texture lock on, and loading the prefab with texture lock on, the first move of the object will shift the texture. Steps to reproduce: Turn texture lock on. Texture object Save as prefab Delete object from scene Load prefab Move Prefab Video:
- 6 replies
-
- 1
-

-
- Texture
- Textureing
-
(and 2 more)
Tagged with:
-
Add the attached caulk prefab object to an empty map. Now move or rotate it. Letters will "slide" off the brush face. Texture lock is enabled. prefab.zip
-
Hi. I want to know if it's possible to get leadwerks to do this automatically when an fbx is imported: look for embedded or referenced materials/textures (does not seem to work by default) set scaling for the model to 1.01 units to 10.1 cm show up correctly when inspected in preview tool I'm using autocad 2015 to make the models and materialize/texture them but it's awkward to import them. Thanks in advance.
-
Hello! Would it be possible in LE to draw only a part of the image on the screen (via context). I mean, let's say I have a 256 x 256 texture with four 64 x 64 frames. Now, I would like to be able to draw, for example, a part of the image with following specs: x = 64, y = 0, w = 64, h = 64. I'm asking that because I'm building a basic 2d graphics lib and would like to implement animation in more elegant manner: right now, I'm just loading bunch of textures as frames, which is cumbersome and not quite efficient from renderer's point of view. Thank you.
-
I have lots of gui graphics and i would like to combine them into a single file that won't be packaged in the zip file, would it be possible to instruct the texture loader to load from file offset and length? Something like: Texture* Load(const std::string& path, int flags=0, const uint64 fileid=0, uint64 file_offset, uint64 file_length)
-
As the title says, If you make a csg prefab and re-texture it using the drag and drop method it will appear correct in the editor. (NOTE: The warning about changing from and insanced prefab DOES NOT appear). If you change the texture through the appearance tab it will change the texture ingame and show the insance warning dialog
-
Good day everyone Say I have a common wall between two rooms and each corresponding face have a defferent texture. Is there a way to apply one texture to a face and another texture for the other face of a brush? Or I just make two brushes (one for each room) like i'm doing right now? Or should I model these two texture walls in Blender? I'm asking because I was thinking about the number of assets I putting in my game and trying to keep it low. Thanks Ok sorry, I've found my answer . I thinck it was too simple.
-
Okay this may sound dumb but my textures arnt working. In my 3d modeling program they all look fine, and in the texture preview they look fine. Yet when they are on the model its just a solid color not my texture. Its not with all my models though, as my monsters all look fine. There is also an issue with the weapons as they look fine and textured in the previewer, but when in game they to are solid color. Not sure if things are going wrong when I import the models or if there is just an issue with how the texturing is being applied. Please do tell me I am not the only one with this issue!
-
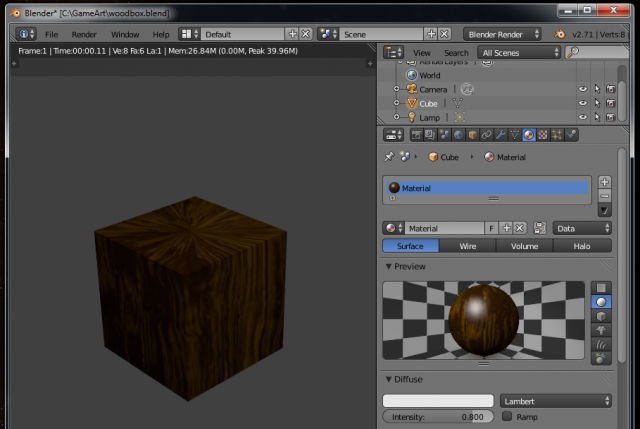
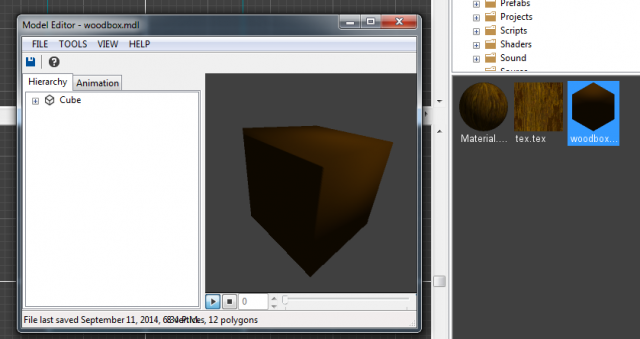
I used the Blender Exporter and exported a simple box with wood texture but in Leadwerks Editor it is without texture. This what I made in Blender: And after exporting it to Leadwerks: I can't figure out what I did wrong with this. How do I get the texture to show up?
- 3 replies
-
- Blender exporter
- Model
-
(and 1 more)
Tagged with:
-
So I was reading a something from a post on one of Unity's forums (I'm not interested in the engine, but some of the discussions there are helpful), and atlas texturing seems to be a big thing there. I had no idea that one large texture that combined multiple small textures could improve performance substantially. Anyway, how does Leadwerks draw textures under the hood? Does it go through all draw calls like Unity (and thus atlas texturing is important)? Also, are textures dynamically freed when the last instance of a material is hidden from view? Thanks in advance for any feedback! I'm trying to determine how to best achieve certain levels of performance in the long run.


